This table can be exported in a csv file or text file.
|
Excel Table |
This command allows to insert an Excel table in your draft document.
Creation stages / Use:
Select the Detailing > Excel Table... command from the drop-down menu.
Select the Excel file containing the table to include.
Specify the range to use.
Select the first point of the table or a segment or another table in order to get 2 superposed tables.
If you have picked a point, select the second point.
Validate the command.
|
|
|
|
Available options:
Split:
|
Allows to cut the table if it is too long and split it in several parts positioned side by side or on other pages of the document.
|
Name of the option:
|
Allows to define the position of the table according to the hook points (At bottom or At top).If the points are on top, the lines are displayed on the bottom.
|
Modifications / Additional information:
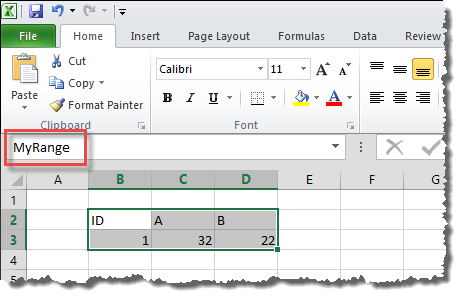
To be usable, a range must be named into the Excel document as shown below.
This range will be imported into the draft document.
|
| Example: Cells B2 to D3 have been selected and this selection has been named MyRange. |