|

|
Decal
|
This command allows you to apply a specific coating on top of the existing material of a shape, such as a sticker.
Creation stages / Use:
Click the icon or select Shapes > Other Operations > Decal... from the drop-down menu.
-
Select the faces.
-
Select the decal texture.
|

|
A decal texture must be created.
|
Available Options:
|
|
-
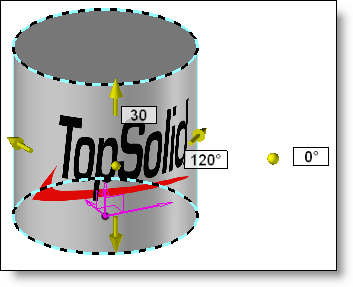
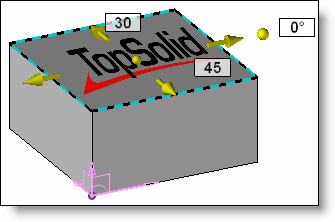
Select the orientation frame of the texture.
-
Select its projection type (for projection onto a planar or cylindrical face).
-
Enter the horizontal and vertical offsets of the origin point projected onto the face, as well as the angle of the texture in relation to this frame.
|
|
|
-
Check the Keep Proportions box in order to not deform the texture.
-
Check the Adjust Width or Adjust Height box and enter the value. When the Keep Proportions option is checked, one side can be adjusted.
|
|
|
-
Set the specular brightness by sliding the cursor. This is the color's light reflection on the part generated by a light source. For plastic material, the specular color is the same as the diffused color; for metals, the specular color is white.
-
Set the specular spread by sliding the cursor. The brightness of the material is changed. The higher the brightness, the more the material reflects lights.
|
|
|
|
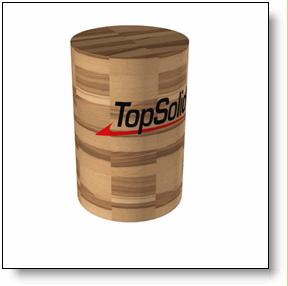
Example of a decal applied to an object.
|
Modifications / Additional information:
You can modify using the popup menu or the operations tree.